


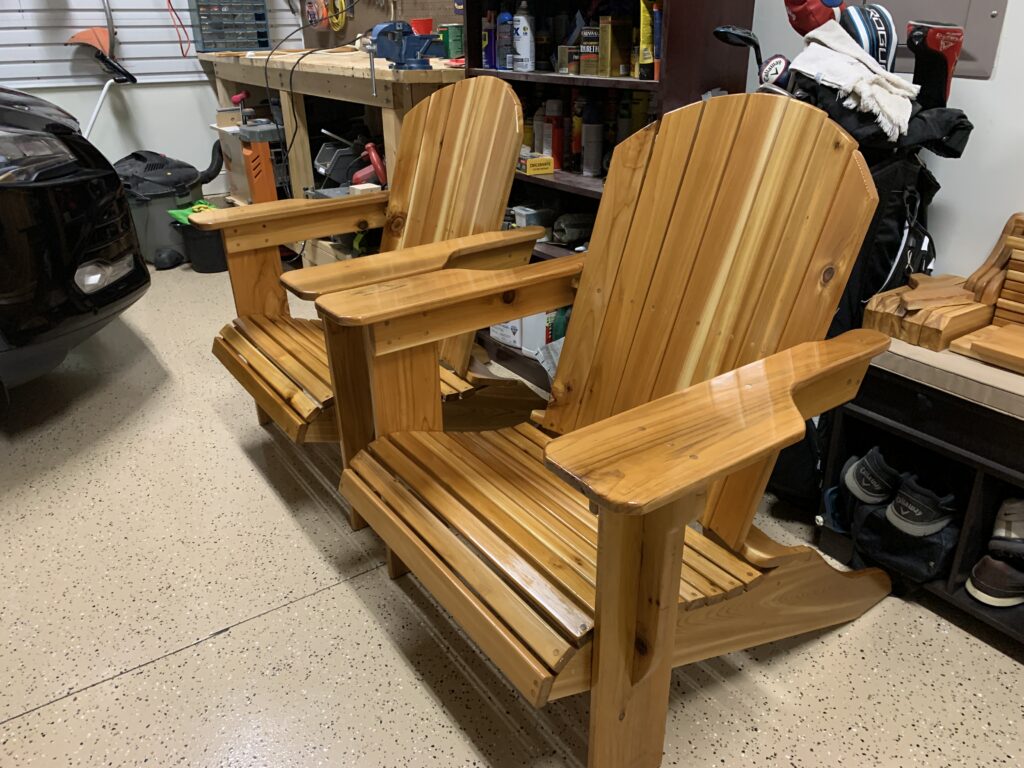

Let me first warn you, that I am in no way, shape, or form, a professional wood worker. Although I’ve built some pretty amazing things over the years, I’m still a novice here. I simply like to build, fix, tinker, etc. So, when I found the plans for Jake’s Chair, it read like an instruction manual for guaranteed success – or so I thought. I was instantly drawn to this project by the meticulous notation and effort that Tom Gauldin had put into these plans. I built two of these straight from the plans and then several years later in a different house, I took my mistakes to heart and tried to build a better set. The images and summary listed here are of that second set of chairs I built many years after the first attempt. This set of chairs was built in 2019 with not the greatest table saw or router, but the results are “serviceable” for our purposes.
The following is a summary of my build, using the plans you can download here. The plans themselves have all the detail you can use and need to build these beautiful chairs. My narrative below is meant to be a companion to the plans so that you can see a real-life example of what you’re reading in the instructions.
The Wood
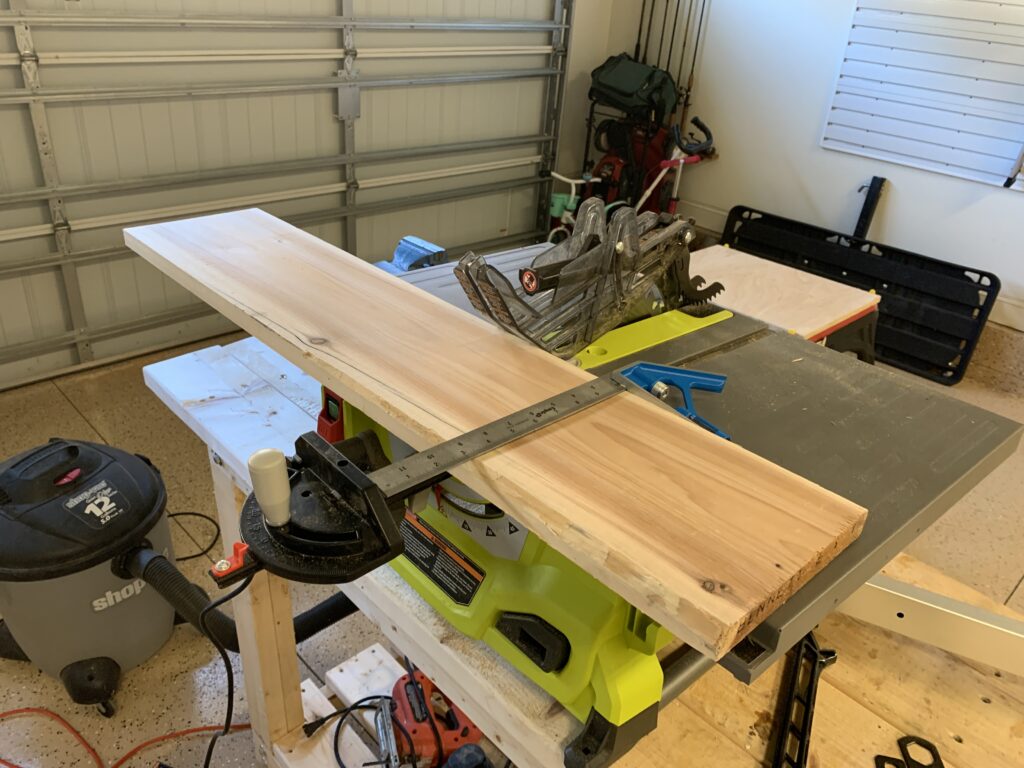
Since I knew these would be permanently outside and dealing with the elements, my lumber of choice was a high-quality red cedar from my local lumber yard. I wanted something that could handle moisture, if needed, and would be able to age gracefully over time. The first time around, I used pine and painted the chairs to match our porch. This time, I went with a wood that I’d be able to showcase once finished. My lumber yard sells cedar in various widths S3S – (skip surfaced on 3 sides and one straight edge). So, before I can do any cutting, I needed to find that straight edge and lay out the patterns. You can use thicker wood for the design than what is listed in the plans. For example, in my case, I used 5/4 thickness boards because I knew that I’d be planing everything down a little bit for consistency. This results in the same thickness as an an un-planed nominal 1″ thickness board from your big-box home improvement store.
The Screws and Countersink Bit
I purchased all the screws necessary for two Jake’s Chairs at once and saved a little money in the process. I chose a high-quality deck screw that would withstand the elements and didn’t discolor the chosen wood. I used this line of deck screws with a polymer coating to prevent rust and discoloration. You can use plain galvanized if you like, just know that with some woods, galvanized will eventually cause dark spots. More details about this are included in the Jake’s Chair plans.
I will tell you now, the countersink is a must, especially if you enjoy sitting in a chair without catching your skin or clothing on exposed screws. It takes a bit more time to build using the countersink method, but it will extend the life of your Jake’s Chair as well as the life of your clothes, and your backside. I used a #8 countersink bit like this that put the pilot hole and the countersink in the right spot at the right depth, thanks to the stop collar.
The Tools
I did have most of the tools required for this project ahead of time, so it only cost me a minimal amount in tools. I had a basic table saw, basic router, and a basic jigsaw. I did use my existing planer and routing table to help with the processing of the rough stock. However, if you don’t have a planer, you can buy S4S stock instead which has already been planed on all 4 sides from the lumber yard.
The rest of the arsenal included a drill, for the screws and countersink holes, a circular saw with a fine tooth blade for smooth cuts and easy board ripping (cutting with the grain on a long plank), regular ol’ tape measure, carpenter’s square, wood glue, palm sander, and most importantly, about 4 of the 99 cent clamps you can buy at the hardware store. These will help hold your wood to the table when sawing, sanding, routing, etc. They are also useful for fitting pieces together before you are ready to screw them together (when attaching the seat frame to the Jake’s Chair legs). Overall, the tools are not complex or professional, just homeowner grade tools worked fine for me.
The Layout

Since the plans were so detailed and easy to use, I had little difficulty with them. My advice is to get several large pieces of paper (i used some pages out of an old sketch book and taped them together) and lay them out on your kitchen counter. I took each drawing from the Jake’s Chair plans and transcribed the measurements to the large paper. Since most parts of the chair are sharp angles and straight lines, it isn’t too bad. The seat frame has a few curves in it, and the back supports as well, but all the radiuses are labelled in the plans and if you have to freehand some it really wont affect the design, as long as the main radius for the seat back supports are correct. To accomplish this, i took a pencil tied to a string. I measured the length of each radius required, and then marked that spot on the string. I then took that spot on the string and made it my circle center, gently scribing the exact radius on the paper. Once all the patterns were drawn out on the sketch paper, I carefully cut them out on with scissors and labelled them each individually. (Hint: save these patterns for future Jake’s Chair construction. This will save you at least 2 hours the next time you want to build a Jake’s Chair.
The Cuts
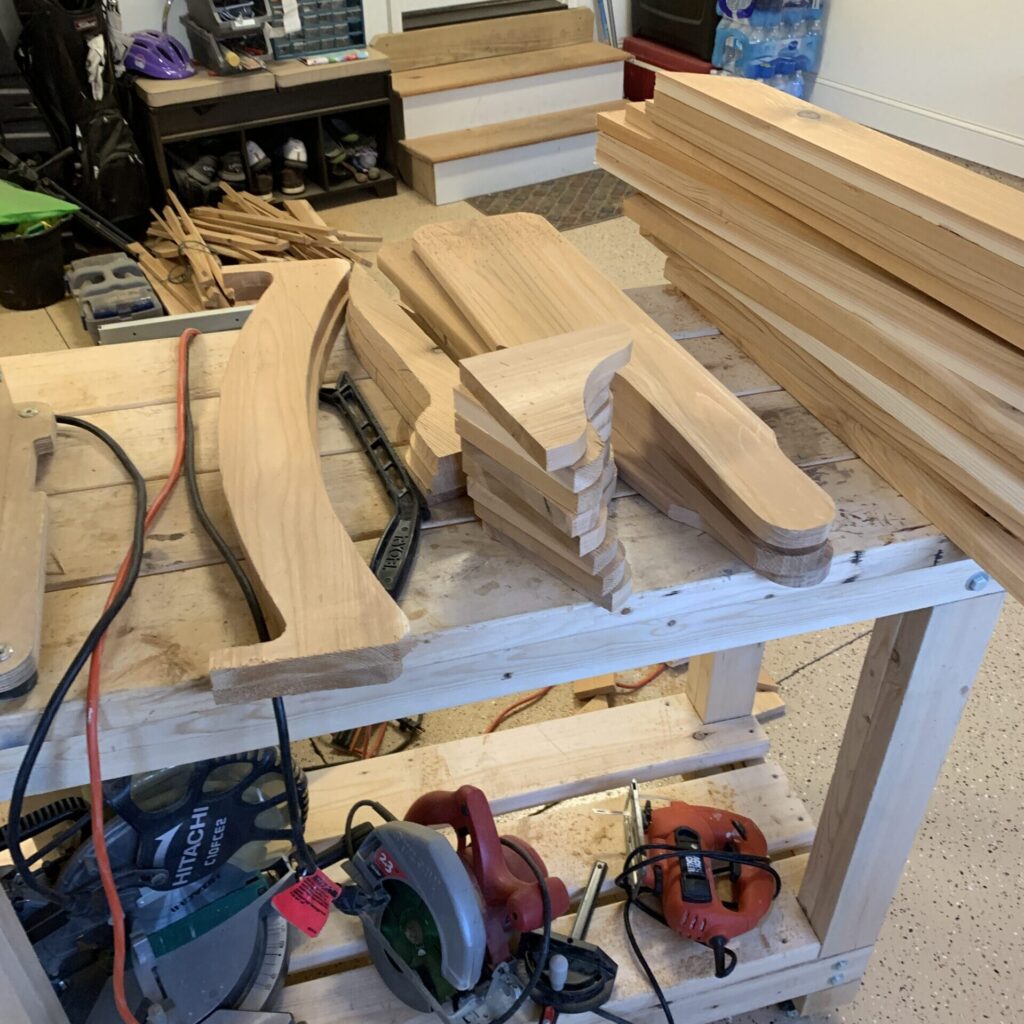
After all the patterns were drawn, I laid them all out on my raw lumber and put them so that I would get the most lumber out of each plank. I then traced the pattern onto the wood. A true woodworker would tell you to trace the pattern on a thin piece of pattern wood, cut that out, and then use that as the pattern to cut your real piece. I, however, am not that patient and I trusted my tracing skills just fine. Hint: remember to add 1/8″ for the width of your saw blade when making your marks on the boards. I then began the cutting. I started with the seat slats as they required ripping the long boards first into several thin strips, and then cutting them to length. Then I followed with the rest of the straight cuts. If a piece had a cut needing the jigsaw, I just cut a rough straight border around it with the circular saw and saved it for later. After all my straight cuts, I switched over to the jigsaw and cut all the rounded cuts until all my pieces were cut.
The routing and sanding
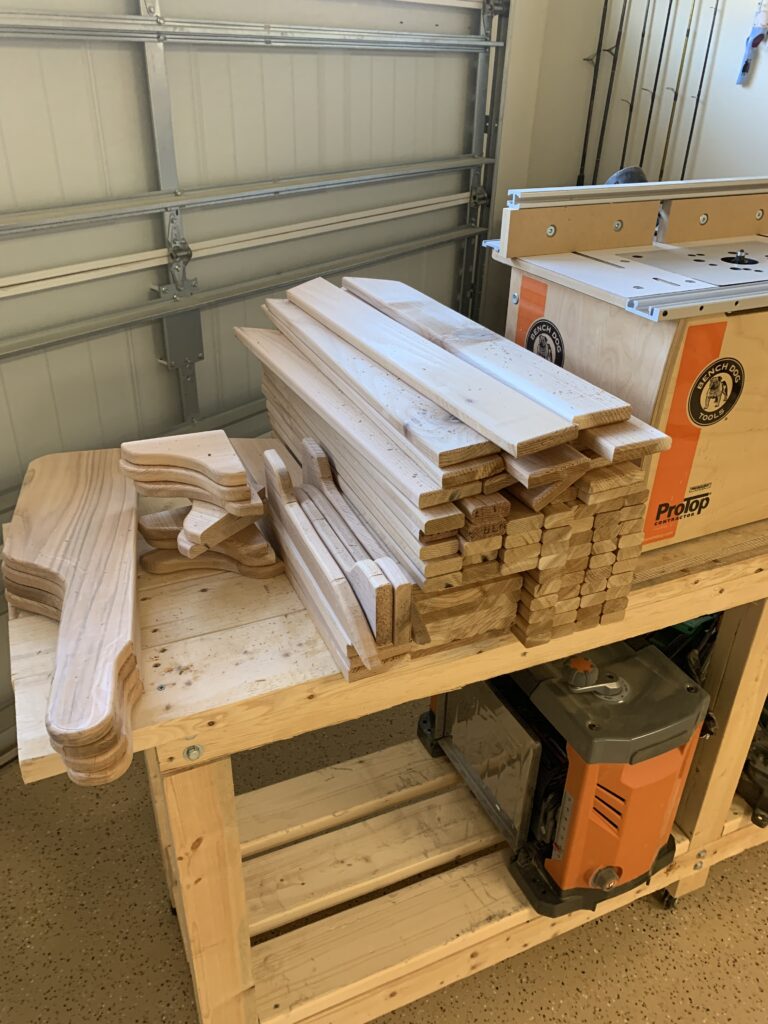
After all the pieces were cut, I started the tedious task of routing the individual pieces according to the plans. The Jake’s Chair sketches show you which pieces on which sides need to be routed smooth, but as an estimate its about 90% of the wood you just cut. It is a slow and meticulous process, but it makes all the difference in the world as a finished product. A fine routed edge is what makes the Jake’s Chair look professional. If you have access to a routing table, this will speed things up dramatically.
After you have routed all your required pieces, sand everything as smooth as you can. Hint: You need to sand now because you will not be able to access many of the edges once the chair is assembled, and if you are painting, the paint will magnify these areas that are not sanded. Finish all of your pieces as smooth as you can get them but remember to leave the square corners/edges square. This is so you’ll have a tight fit, when assembling the chair. I sanded with a handheld finish sander using a 220 grit paper.
The Assembly
Putting it all together is pretty straight forward. The plans tell you step by step what to do, when to do it, and where to place all the screw holes, glue, etc. My assembly went fairly smooth. I did find that the use of a spacer when screwing in the seat slats was especially helpful. I used a paint stirrer and it helped greatly. Since the assembly is pretty much paint by numbers, I wont bore you with my Jake’s Chair assembly, but the gist of it is this:
- Lower back support onto lower legs
- Seat slats onto lower legs
- Vertical legs onto lower legs
- Rear back slats
- Arms
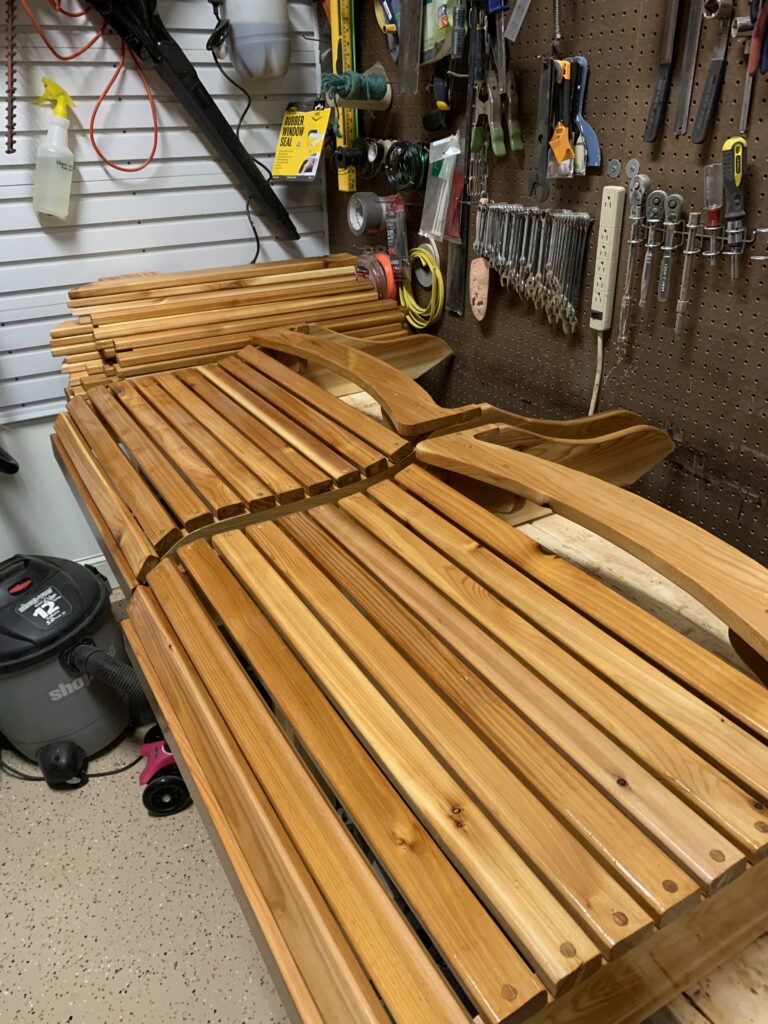
A couple of hints:
- Don’t glue back slats on until after you have cut the top and bottom radius. My first attempt, I glued the back slats on when I installed them, and at the end it was nearly impossible to rout the top of the the newly cut radius without ripping the slats off the chair. Just screw them in temporarily so that you can cut the radius and then remove them for routing.
- The plans don’t mention this, but you can purchase the pre-made countersink plugs. You just hammer them in with a soft mallet, and then sand to match the plane of the wood. This is a must, unless you want to leave a bunch of exposed screws.
Finishing my Jake’s Chairs
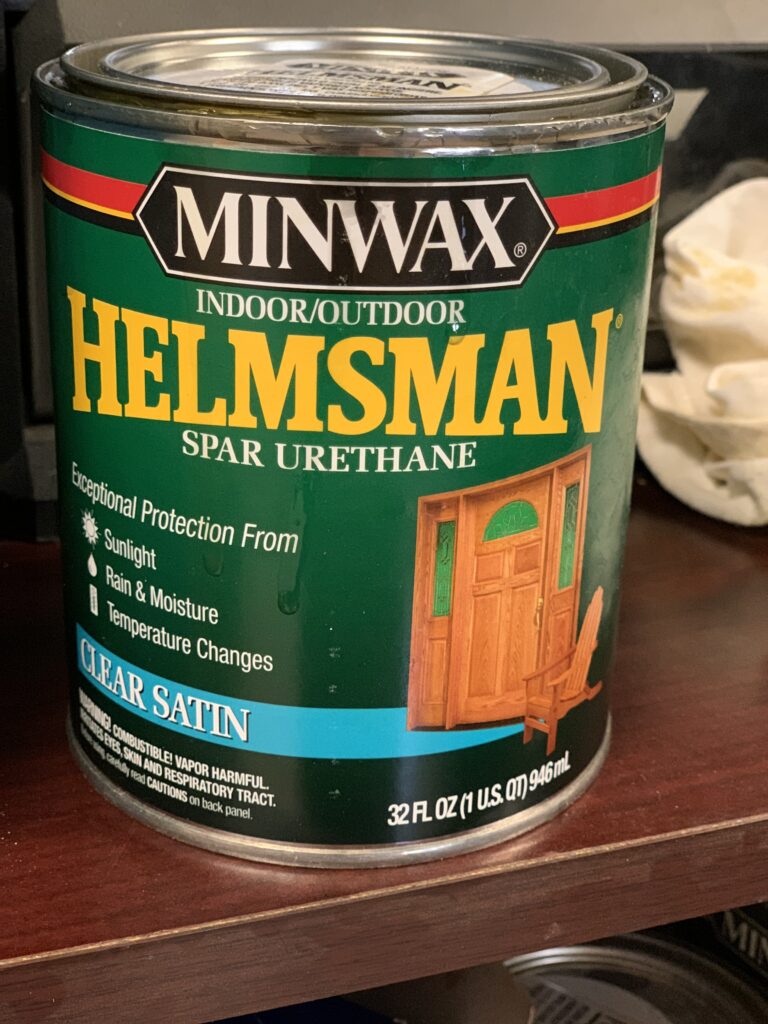
In my first attempt at Jakes Chair, I assembled the entire chair and then tried to finish them with paint. This looked sloppy and left lots of pint clumps especially within the tight slat gaps. For this build pictured, I decided to finish with urethane as I built. I ended up doing two coats after all the parts were routed, and did a light sanding with an 800 grit sandpaper between dried coats. After assembly, I did two more light coats the same way for a total of four. This allowed every square milimeter of the wood to have a protective urethane coating, but without the sloppy look of my first attempt. I used a Helmsman Spar Urethane on this Red Cedar. The finish was “satin” but looks like gloss when dried. After a month or so in the elements, the finish looked more like a satin.
What did I learn?
Where to start…Building the Jake’s Chairs taught me a few lessons definitely. First off, the old adage of measure twice, cut once, could not be more true. Secondly, I learned that wood glue when set, clamped, screwed, and dried, is about as secure as a good steel weld. So before you put that little bead of wood glue anywhere, make sure that the pieces fit, and they are the right pieces for the right spot, otherwise you’ll waste a lot of time and money on your Jake’s Chair build. Also, I found out the hard way that you should plan your cuts around knots in the wood. My first chair had a knot in the dead center of one of the seat frame legs. I put the entire chair together and then decided to test out the comfort, and the angles. The knot ended up taking exactly 1/2 of my weight because of its location, and the leg split right around the knot. I had to disassemble the Jake’s Chair (which was already glued mind you), recut a new seat frame for that side, and assemble it all back together. This added about 3 hours to my project all because I laid the pattern in the wrong spot on the raw plank. Finally, patience will be rewarded. You can try to rush through this project but you will ultimately spend more time redoing what you have incorrectly done the first time. Take it from someone with experience! This chair should take a semi-intelligent person with the adequate tools and light woodworking experience around 8 hours to build and assemble.
The more Jake’s Chairs you build, they will go quicker each time.
I surely hope my account of the Jake’s Chair project has helped at least one person in their pursuit of the most comfortable and good looking chair around. If there is a question I have not answered, please leave a comment so that other readers can share in the question and answer.